
KITCHEN BEFORE AND AFTER
I found an old lost BEFORE photo on the computer of my kitchen
and thought you would like to see it posted with the AFTER.


I built the freestanding island myself and added a small trim to the cabinet faces.
I painted the cabinets in a creamy latex with a dry brush of a darker tone over the trim.
The hardware was changed by filling the old holes and installing wood knobs in a new spot.
I built a shelf in the corner for the microwave and added a plate railing beside it.
The back splash is a three dimensional wall paper in a small tile pattern and the upper section
is another wall paper which is a very playful and colorful French pattern.
I have offered a ton of links in the above paragraph to close up photos.
REPLACING THE BACK ON A CABINET
I often have to build or change the back on cabinets and shelving units with newer wood. Most of the
time I don't have large enough pieces of good wood to accomplish this so I have to use smaller
pieces of reclaimed wood to cover the backs.

This cabinet was no different. I wanted to use three salvaged drawer bottoms to cover the
back but only one area was the right size to use these pieces but that wouldn't stop me.
The boards were wide enough but not tall enough to cover the larger opening.

I took a reclaimed pine board and cut it to fit across the inside of the larger opening to divide the
space so two drawer bottoms could be used. The pine divider board was secured in place with screws.


I trimmed the salvaged drawer bottoms with a sharp box knife to fit perfectly.

Here are all three boards nailed in place filling in the back of the cabinet.

And remember the inside ...
SEASIDE BEACH FURNITURE

This dresser is a great example of how you can make a few simple changes to use it
in your new seaside décor.

The original dresser was in great shape just very boring.

To start the seaside theme I cut and added a rope detail on the bottom front.
You see rope everywhere on boats and docks.

Vintage brass is a great feature use on seaside themed furniture. Brass doesn't rust and corrode like
other metal does in the salty air of the coast, so it is used all over marinas. After painting this
dresser in a blue and then a white wash I sanded the lock plates to show them off the brass.
other metal does in the salty air of the coast, so it is used all over marinas. After painting this
dresser in a blue and then a white wash I sanded the lock plates to show them off the brass.

The original dresser came with gold handles but the elaborate vintage brass Chippendales
I chose to use in their place are the perfect touch on these glossy waxed drawers.

The last piece that finished the look is the natural top, clear coated for protection


Hope this helps you with some of your beach decorating.
********************************************
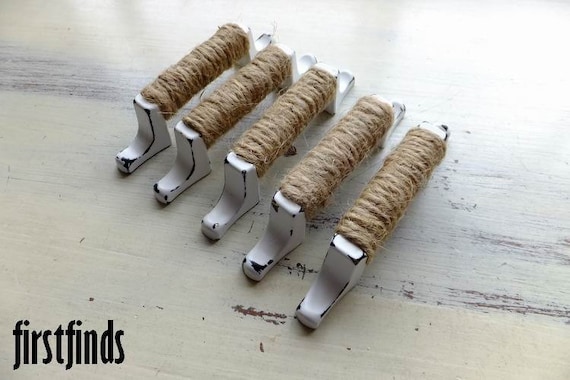
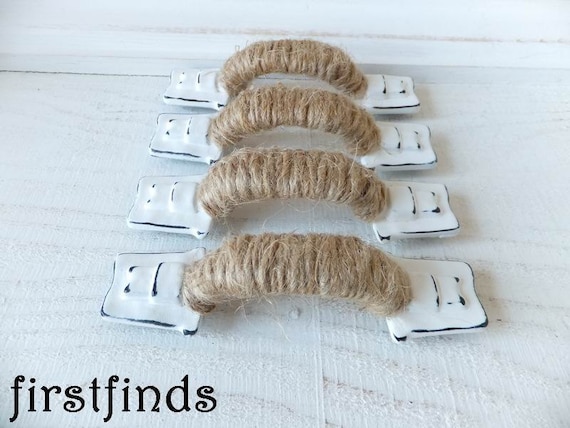
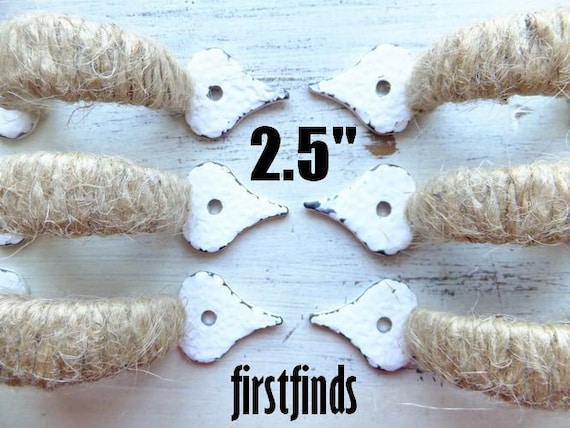
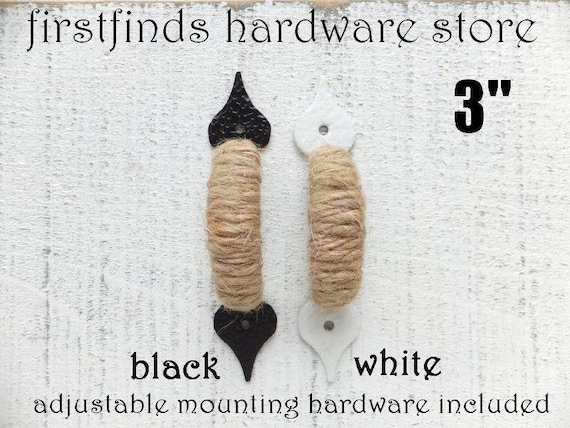
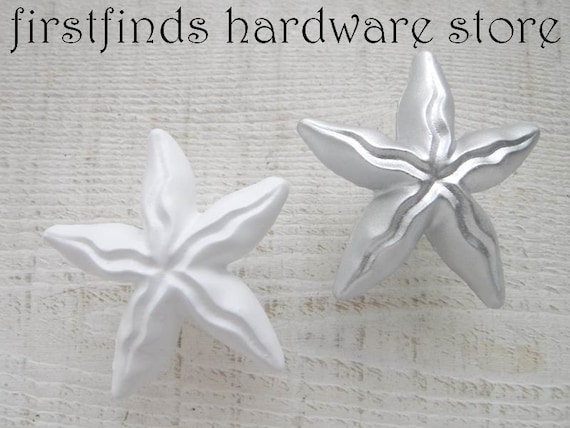
Have you stopped into firstfinds hardware store lately?
Here are just some of the items available for your projects.
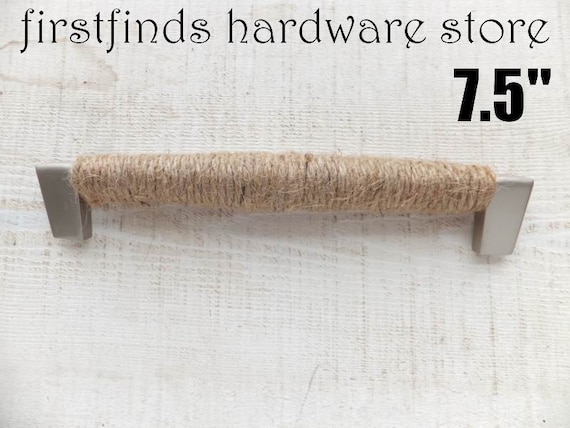
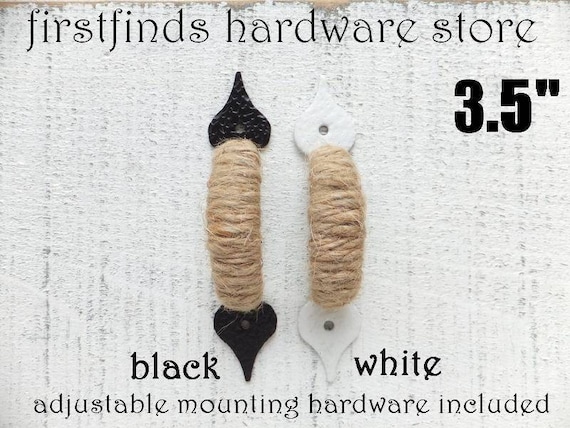
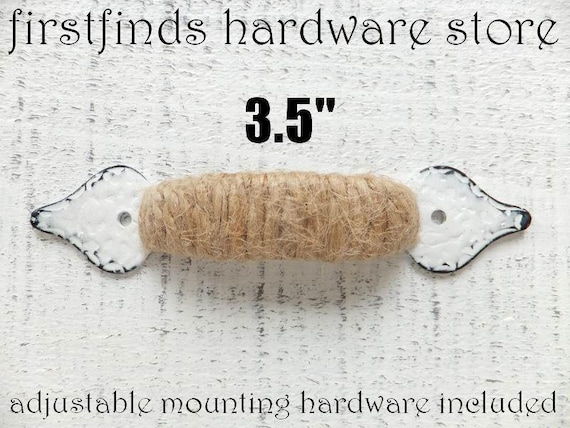
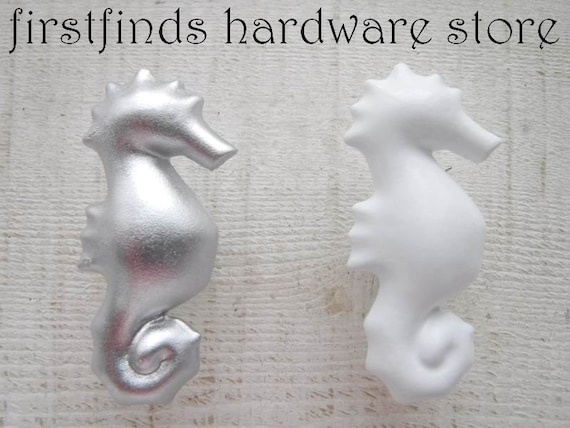
click on each photo for more information
click on each photo for more information
click on each photo for more information
TIL NEXT TIME

LEARNING ABOUT MILK PAINT - sea foam green cabinet

A lot more people have heard about Milk Paint in the last little while thanks in a large part to the internet and many DIY bloggers but Milk Paint has been around for thousands of years.
BATHROOM VANITY - before and after installing

The Before and After of this project is a little different. It is going to show how important the finished surroundings effects our painted project.
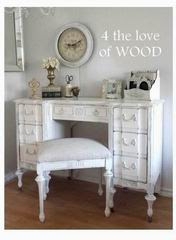
CLOCKS, CLOCKS, AND MORE VINTAGE CLOCKS

My favorite clock is large with roman numerals. I have had it for years and it is the main clock in my bedroom. It has such a classic look and it feels like a giant pocket watch with the ring on top.
HOW TO REMOVE STICKERS - WD-40
I know there are a lot of different products out there that are specially made
to remove adhesives but I try to share what is usually already in your home.
So if you have some stickers stuck to your next paint project hunt down the
hubby and ask where the WD-40 is hidden in the garage.

WD-40 is great for removing stickers and adhesive. Try to peel any paper off the top and let the
WD-40 penetrate the glue. It usually takes 5 minutes or so but the adhesive usually wipes right off. Once your sticker issues are gone be sure to wash the area with soapy water to remove any left over residue. WD-40 is an oil based product that will cause water based paint to react funny on the surface if you are planning to paint.
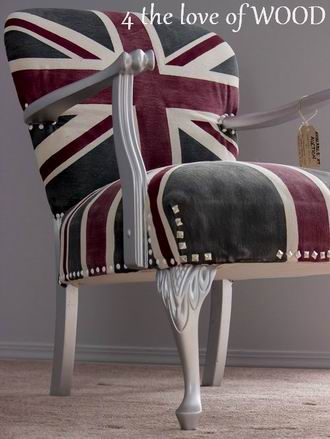
UNION JACK CHAIR - painted upholstery

It has been quite awhile since I last saw my Silver Union Jack chair I created for a charity
auction. A local business owner bought it for her hubby, and at a decent price for the charity.
Lucky me I have wrangled a visit several hours away to seeing the chair again in it's new home.
POTTERY BARN STYLED NIGHTSTANDS - white bedside cabinets

I had 2 old pine night stands that were very
similar and I wanted to make them into a pair.
The bottom front kick on one had a wavy cut
design like this one above. The other was a
straight board with no shape.

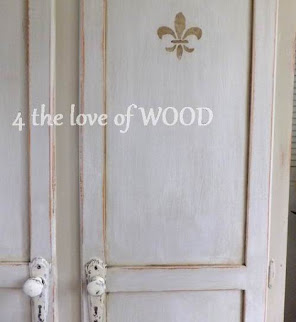
ROMANTIC NIGHT STANDS - french style bedside cabinets

BUT did you know ...
CLEANING THE SINK

As someone who paints a lot and uses the kitchen sink for washing up, I have to have
something with a little extra scrubbing power handy to tackle the extra mess.
something with a little extra scrubbing power handy to tackle the extra mess.
My secret cleaner is simple steel wool and a little warm water.

I do my best to keep the paint mess to a minimum as this is where we live and eat and prepare
food but I'm not PERFECT and paint has a mind of it's own ...

Cleaning a metal sink with steel wool is easy and chemical free. I use to use SOS pads but the blue
soap always gets under my nails and I am not a fan of scrubbing my nails after washing the sink.
This pack of steel wool (above) came from the hardware store. You can pick it up at many different
places. The lower the number the smoother it is, this GRADE #2 is in a bit coarse.
places. The lower the number the smoother it is, this GRADE #2 is in a bit coarse.
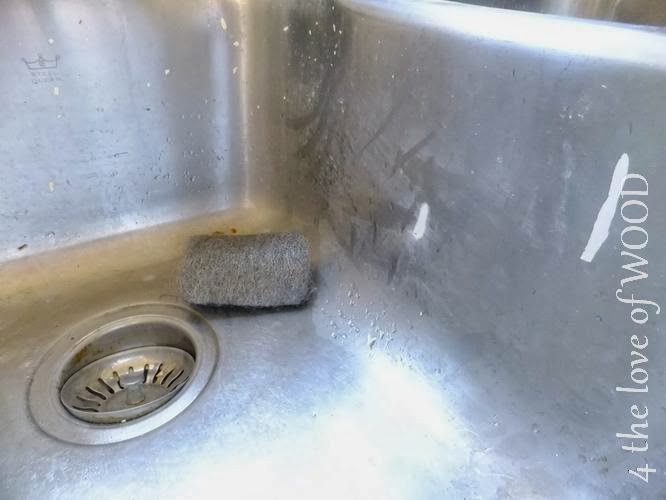
I let the tap trickle in the sink with a bit of warm water as I scrub the dirt away.
It doesn't take much to get the metal looking brand new in no time.

Steel wool can also remove rust rings off the bottom of the sink.
You don't need to be a painter to use steel wool.

HAPPY CLEANING!
HOW TO HIDE YOUR FINISHING NAILS - fixing tutorial

Did you install some trim in your home and lost steam when it came time to hide the finishing nails? You can always go back later and finish it off. May this quick little article help you get it done.
Subscribe to:
Posts (Atom)
POPULAR ARTICLES
-
 I hate seeing vintage furniture made of real wood get discarded . Folks just can't see the potential. That's what happene...
 -
 Did you install some trim in your home and lost steam when it came time to hide the finishing nails? You can always go back la...
 -
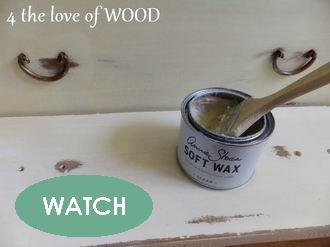
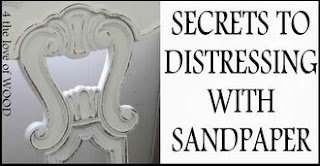
 There are a lot of ways to create a distressed finish on painted furniture but I end up always going back to my trusted sandpaper....
 -
 (#1) Appliques and wood decorations are a fun and clever way to add ornate design to a furniture or cabinet project. Wood appliqu...
 -
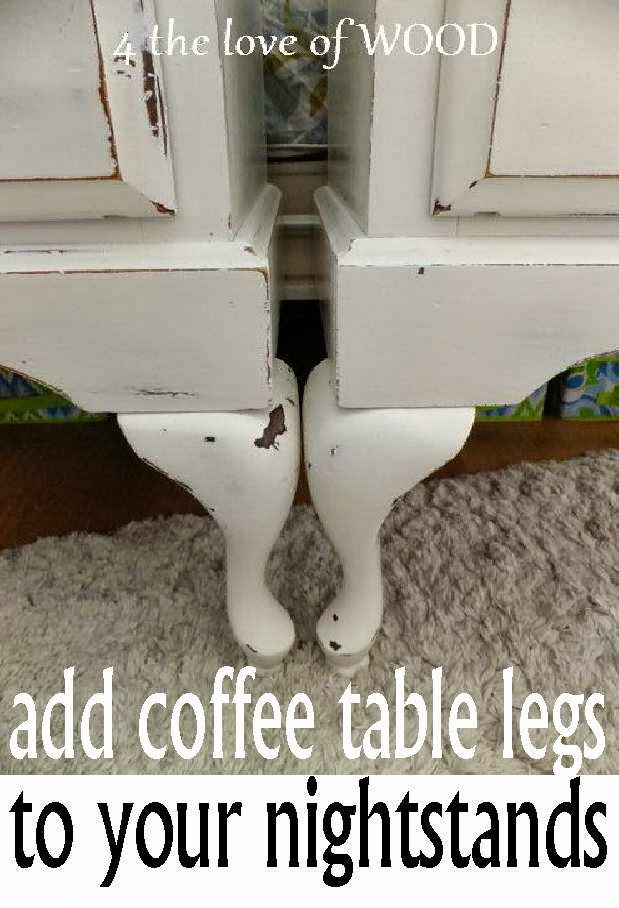
 I found her at a yard sale and saw how much she could benefit from a set of legs.